Blog
Non-planar vs planar.
The difference is the layer strategy. Planar FDM stacks flat layers; non-planar printing tilts and curves them to follow the part, which changes strength, supports, finish, slicing and the machine itself.
Scroll to read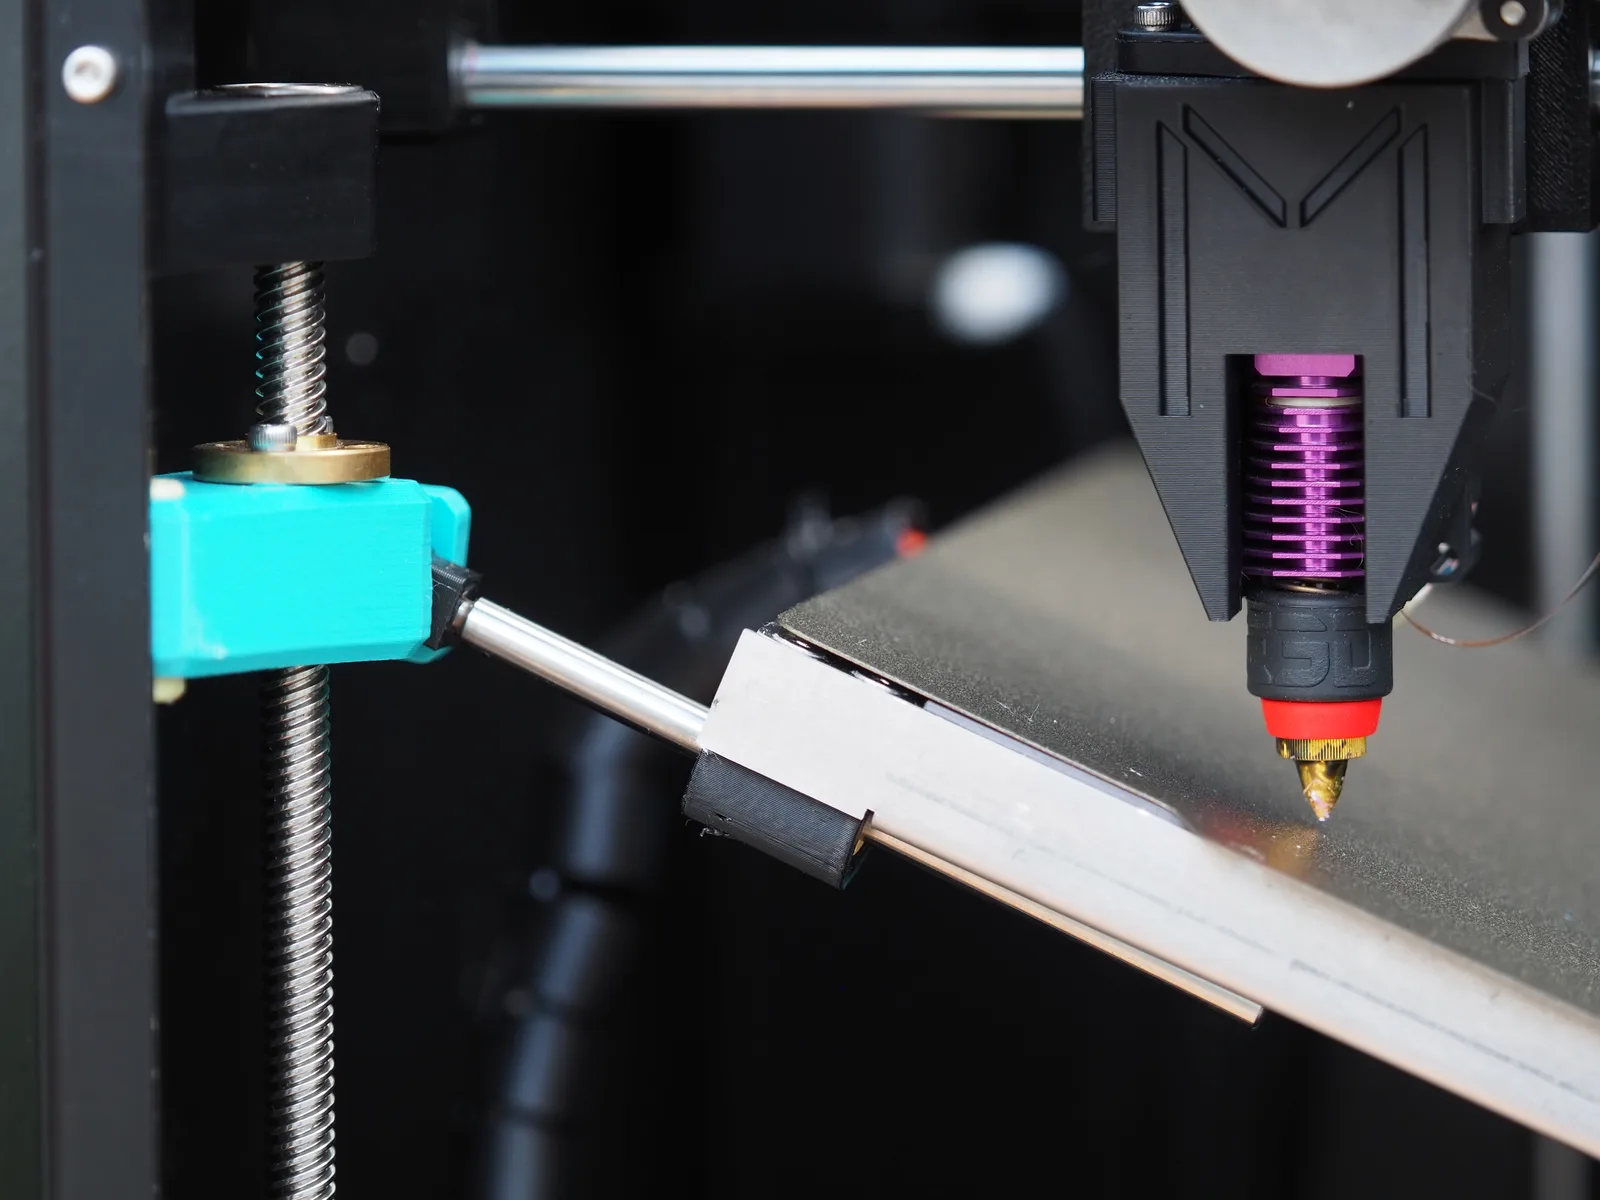
What is the difference between planar and non-planar?
Planar printing deposits every layer as a flat horizontal plane and builds the part as a stack. Non-planar printing lets each layer tilt and curve to follow the part's geometry. Downstream, that one difference changes supports, strength, surface finish, the slicer and the motion system.
On a planar machine, the slicer cuts the model into parallel planes at a fixed height, typically 0.2 mm. The printer traces each flat plane, then steps the nozzle up. Every layer being flat is why the machine only needs X and Y motion with a Z step in between, and it is also why a sloped wall comes out as a staircase.
A non-planar printer relaxes that constraint. On the Melta MK1, three lead screws tilt the bed up to 45° about two axes while the slicer cuts the model into curved surfaces: a dome becomes a set of nested arcs instead of a stack of flat discs.
Overhangs within the tilt range print from the side with no supports at all, curved surfaces come out smooth instead of ridged, and wavy layer interfaces raise part strength by up to 62%. [1] The mechanism behind that number is in curved layers, stronger prints.
Head to head
- Layers
- Planar: flat planes at fixed height. Non-planar: curved, tilted surfaces that follow the part
- Overhangs
- Planar: supports past roughly 45° from vertical. Non-planar: printed from the side within the bed's 45° tilt range
- Strength
- Planar: weakest at flat layer interfaces. Non-planar: wavy interfaces, up to 62% stronger [1]
- Surface finish
- Planar: staircase ridges on slopes. Non-planar: smooth where layers follow the surface
- Slicer
- Planar: any stock slicer. Non-planar: dedicated non-planar slicer, because stock slicers cannot curve layers
- Motion system
- Planar: X, Y, Z. Non-planar: X, Y, Z plus bed tilt on three lead screws, coordinated in custom Klipper firmware
- Best at
- Planar: boxes, plates, straight-walled parts. Non-planar: domes, arches, angled walls, overhangs
The rows are not independent. The layer strategy causes the rest: flat layers are why supports exist, why slopes end up ridged and why the weakest plane in the part sits between two layers. Curved layers move all of those rows at once, which is why the slicing and firmware side has to change too.
Planar is still the right default. A box, a plate or a straight-walled enclosure gains nothing from curved layers, and the planar path is simpler: any slicer, any firmware, any machine. Reach for non-planar when the geometry curves, tilts or hangs over, which is exactly where planar printing starts throwing supports at the problem.
Frequently asked questions
What is the difference between planar and non-planar 3D printing?
Planar 3D printing stacks flat, horizontal layers of a fixed height. Non-planar 3D printing tilts and curves the layers so they follow the part's geometry. The layer strategy is the core difference, and it changes supports, strength, surface finish, slicing and motion control.
Is non-planar printing stronger than planar?
Yes, on parts where geometry lets layers curve. Wavy non-planar layers bond over a larger area than flat stacked layers, and peer-reviewed testing measured part strength gains of up to 62%.
Which method needs fewer supports?
Non-planar. A tilting bed of up to 45 degrees prints overhangs from the side, so many angled and curved surfaces need no supports at all, while planar printers must prop up everything past roughly 45 degrees from vertical.
Can a planar printer produce non-planar parts?
Not with stock hardware and software. Curved layers need a tilting motion system, a slicer that cuts curved surfaces and firmware that coordinates the extra axes, which is what a non-planar machine like the Melta MK1 integrates.
Which method gives a better surface finish?
Non-planar, on curved geometry. Planar printing leaves staircase ridges on any slope; layers that follow the surface lay down continuous lines, so domes and arcs come out smooth without post-processing.
When is planar printing still the right choice?
For prismatic parts. Boxes, plates and straight-walled enclosures gain nothing from curved layers, and planar printing works with any stock slicer and machine. It stays the sensible default whenever the geometry is already flat-sided.
Print both ways.
The Melta MK1 prints planar parts like any FDM machine, then tilts the bed when the geometry asks for curved layers.
Get in touch
Questions about the Melta MK1, the reservation or a possible partnership? Write or call us.